When installing new tiles in your home, office, or commercial property, the biggest concern is always longevity. Often, even after investing heavily in the finest ceramic, vitrified, or large-format slab tiles, homeowners and builders face frustrating problems within just a few months:
- Tiles popping up (debonding) under slight temperature changes
- Unsettling hollow sounds when walking across floors
- Cracks spreading along grout lines and tile edges
These failures rarely stem from the tiles themselves. Instead, they occur because of minor technical errors during installation. Below are the 5 most common tile installation mistakes and how you can easily avoid them to guarantee an unbreakable, lifetime bond.
Using Local or Low-Quality Materials Instead of Proper Tile Adhesive
The Mistake Many contractors and traditional masons still rely on outdated methods—using plain cement slurry or on-site mixtures containing unverified river sand and industrial fly ash.
The Consequence River sand contains clay and organic silt that coat cement grains, preventing proper chemical hydration. Fly ash contains unburned carbon and delayed pozzolanic compounds. Within a few seasons, the cement bed becomes brittle, causing tiles to loosen and detach completely.
The Right Way Always use high-performance, 100% pure silica-based polymer-modified tile adhesives (such as Gressbond® products). Engineered with pure graded quartz silica and redispersible polymers, they create an unbreakable mechanical and chemical grip between the tile and substrate.
Recommended Gressbond Solutions vs Ordinary Cement
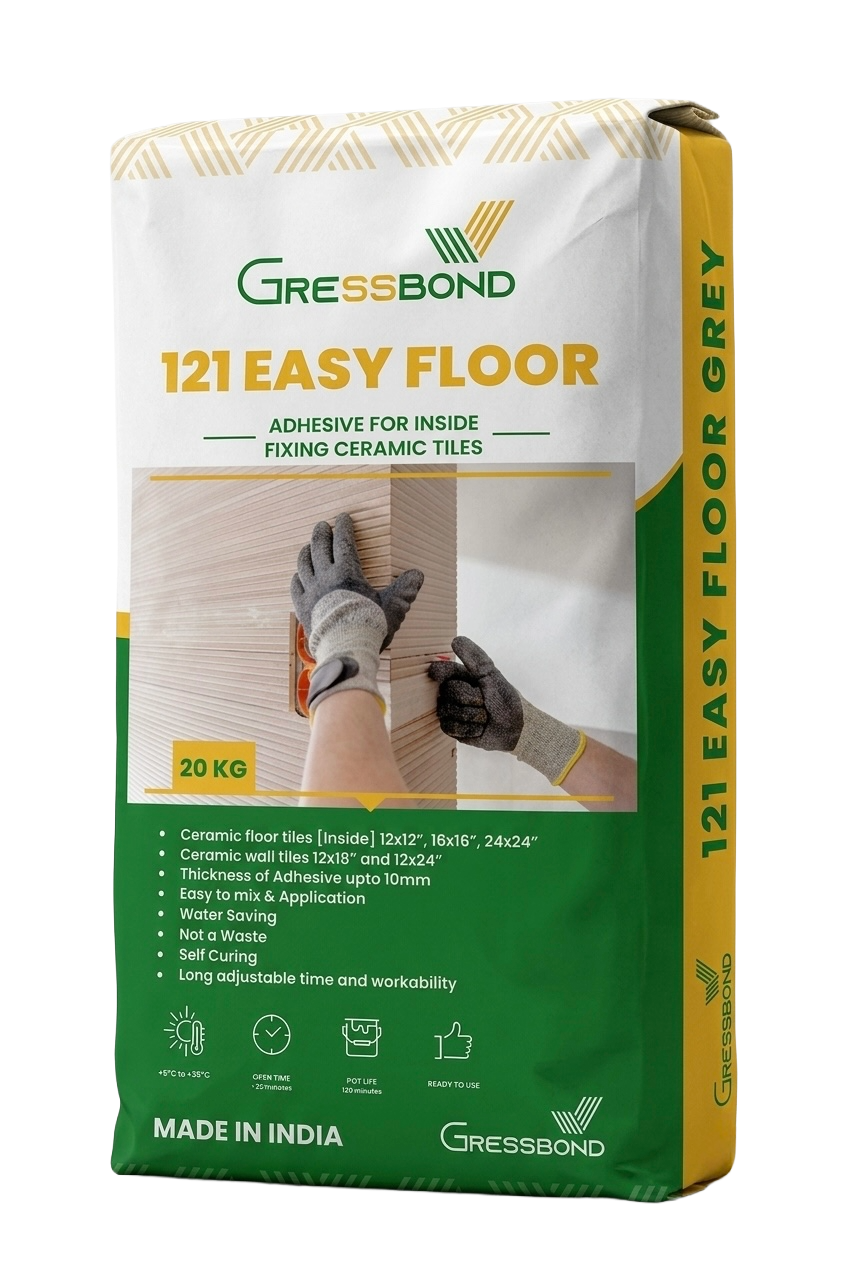
121 Easyfloor
Perfect for ceramic & standard floor tiles. Zero shrinkage.
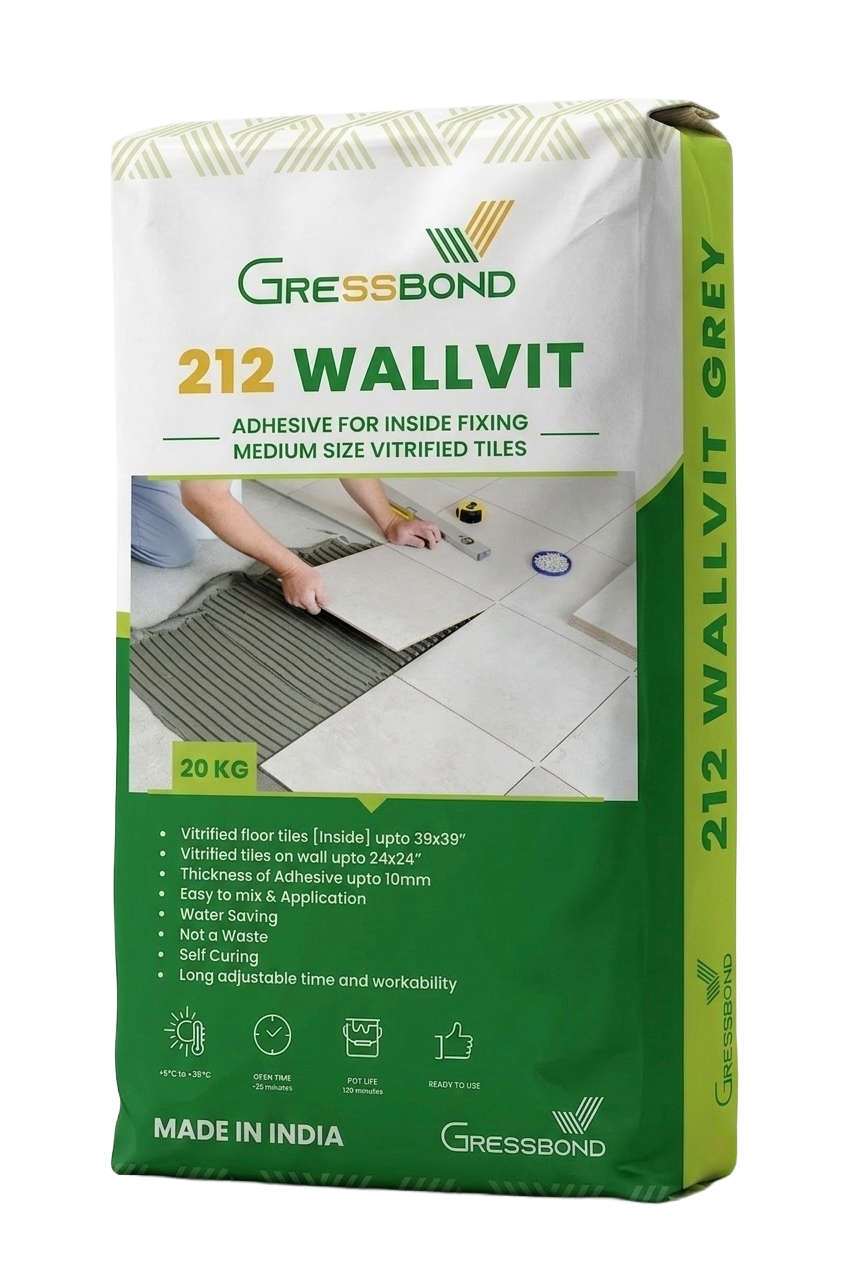
212 Wallvit
High-slip resistance for vertical walls & vitrified tiles.
Ignoring Proper Surface Preparation
The Mistake Applying tiles directly onto freshly plastered floors or masonry walls without removing surface dust, curing compounds, grease, oil, or loose crumbling plaster.
The Consequence Dust and grease act as a debonding barrier. The adhesive sticks to the loose dust film instead of penetrating the substrate pores. Over time, the entire tile installation peels off with the dust layer attached.
The Right Way Thoroughly scrub the surface with a stiff wire brush before tiling. Vacuum or wash off all loose debris. Ensure the substrate has completed adequate curing (minimum 14–28 days for screeds) and is structurally sound, clean, and dry.
"Spot Bonding" (Applying Adhesive in Dots) Instead of Using a Notched Trowel
The Mistake To save time and mortar, masons frequently place 4 or 5 large lumps (dots) of adhesive at the corners and center of the tile, pressing it down onto the floor.
The Consequence Spot bonding leaves vast hollow air voids under 60% to 70% of the tile surface. When heavy furniture is moved, or even when someone steps on a hollow corner, the unsupported tile snaps and cracks easily.
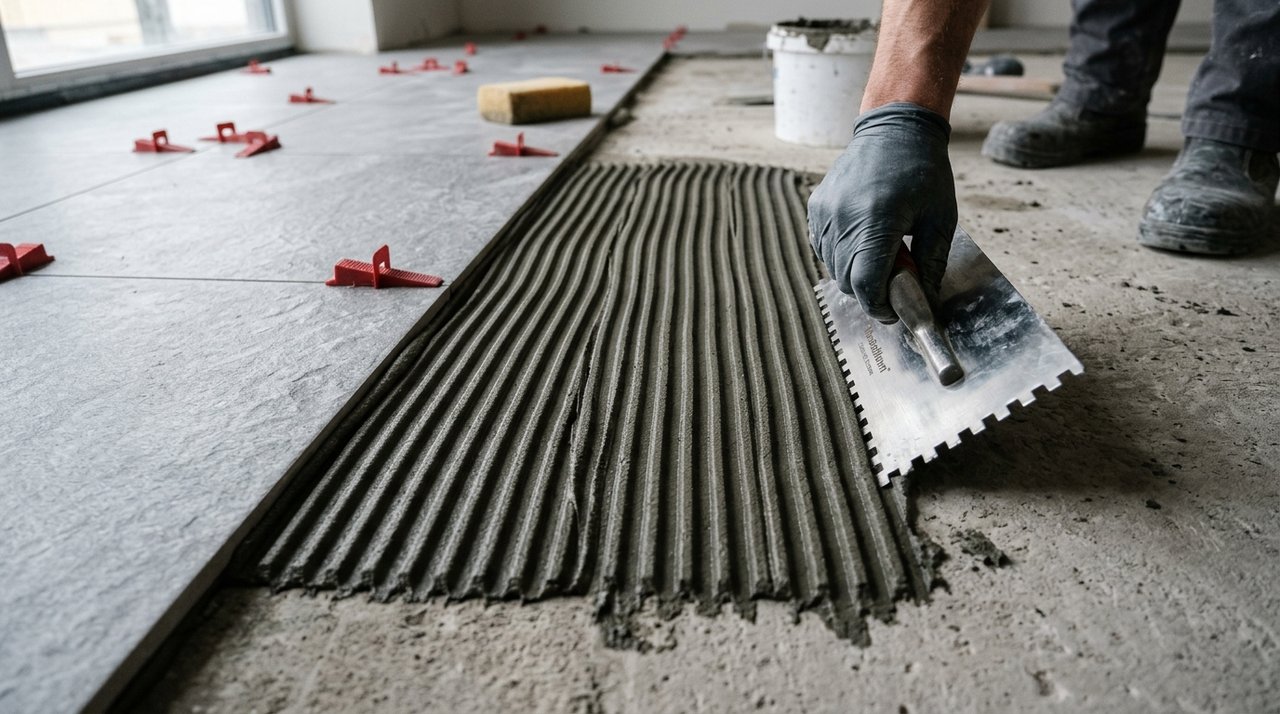
The Right Way Always comb the adhesive using a calibrated notched trowel (6mm, 8mm, or 10mm depending on tile dimensions). Combing creates uniform continuous ridges that collapse flat when the tile is pressed and twisted into position, delivering 100% surface contact and solid bedrock support.
Spot Bonding (5-Dot Method)
Leaves 60%–70% hollow air space underneath. Zero impact resistance. Tiles crack easily under heavy furniture or foot pressure.
Notched Trowel Bedding
Continuous straight ridges collapse to 100% full bed coverage. Absorbs heavy dynamic loads and eliminates hollow drum sounds.
Overlooking Open Time and Adjustment Time
The Mistake Spreading adhesive over too large an area at once and leaving it exposed to ambient air and wind, or forcefully nudging and adjusting tile alignments long after the mortar has started to gel.
The Consequence When adhesive sits exposed, a microscopic dry "skin" forms over the ridges. If a tile is laid over this dry film, it fails to transfer and bond properly. Shifting tiles after the adjustment window ruptures the forming crystal network.
The Right Way Work in manageable batches (1 to 2 square meters at a time). Use high-grade adhesives with extended open time (Gressbond adhesives provide an optimal 45-minute open time and 45-minute adjustment window), giving craftsmen ample time to align tiles perfectly without losing adhesive wet-tack.
Incorrect Water-to-Powder Mixing Ratio
The Mistake Adding water by guesswork without measuring containers, or adding extra water midway through the job to "re-temper" drying mortar.
The Consequence Excess water increases porosity, leads to heavy drying shrinkage, dilutes polymers, and slashes compressive and tensile bond strength by over 40%. Conversely, too little water leaves unhydrated lumps that never cure.
The Right Way Always measure water strictly as specified in the Technical Data Sheet (TDS)—typically 22% to 23% water demand (approx. 4.5 to 5.5 liters per 20kg bag). Mix using a slow-speed mechanical stirrer, allow a 5-minute slake period to activate polymers, remix, and never add water after initial mixing.
The Secret to Lifelong Flooring
A strong, beautiful floor depends not just on expensive tiles, but fundamentally on the bonding material used beneath them. Gressbond Adhichem’s 100% pure silica-based tile adhesives deliver superior tensile and shear adhesion, keeping the foundation of your spaces secure, silent, and crack-free for decades to come.
Why We Use 100% Pure Silica (And Reject River Sand & Fly Ash)
Discover the chemical and mechanical science behind quartz aggregates and zero-efflorescence bonding.
Have Technical Questions About Your Tiling Project?
Our technical experts are available to guide you on substrate assessment, adhesive grade selection (C1T, C2T, C2TES1, Epoxy Grout), and proper application techniques.